Very often we are not as kind as we should be to our hips. Quite like our backs, our hips bear the brunt of aching knees and poor postures. Our hips also try to be the heroes by over-compensating for weaker parts of the body. What we don’t realize, however, is that our hips are one of the important parts of our body and should not be ignored. Tight hips is also one thing cyclists, runners and workaholics have in common. The many hours spent in a seated posture at our desks, driving or on our cycles makes the hamstrings and quadriceps stiff, tight and weak. Repeatedly staying in the same posture (like sitting at a desk all day) with zero time spent in counter-movements will weaken the muscles. When the hip muscles are constricted and start getting affected pain can start arising in different parts of the body like the back, knees, ankles, etc.
The anatomy of our hips
Let’s understand a little about how the hips are structured and their function. The hips are the connecting point between the lower limbs and torso. This makes it a critical point of function for balance, mobility and stability of the entire body. For example, people with knee joint pain very often count on their hips to take the pressure off the knees by putting more pressure on the hip joint. The hip joint is a ball-and-socket joint with the torso and a complex diarthrodial synovial, sacro-iliac joint with the spine, hence has a wide range of motion (RoM). It’s responsible for the stability you have when walking or standing, and supports body weight. The ball and socket joint consists of the head of the thigh bone (femur) connected with the acetabulum, which is the socket part of the hip joint. It is formed by the iliac bone, the ischium bone, and the pubic bone. This structure allows for a greater range of motion than other joints such as the hinge joints (elbow or knee). Extension, flexion, abduction and adduction are all possible here.
When the hips are tight, the muscles in the back are also tight, like the PSOAS muscle, which runs from the lumbar spine through the pelvis to the femur. If this muscle is tight in the hips, the tightness will go up to the back as well. Over a period of time it will shorten the PSOAS muscle (the largest hip muscle) and this will begin to affect everyday functions like walking, sitting, standing, etc.
Thus, hip mobility is an important factor for the safety of the lower back and knees. Loosening up the hips, lubricating them with regular exercises like yoga are hence a very important part of lower body fitness. Yoga will improve your range of motion, posture, blood flow and strengthen the muscles.
Yoga for tight hips
While we don’t realize how important it is to take care of the hips, injuries or pain in this region is very common. Hip opening yoga poses are some of the best exercises you can do regularly to take care of the hips. Regular hip opening stretches will contribute greatly to improving hip mobility, strength and stability.
Our hips are also said to be the bearers of our emotions. This is connected to our Swadishtana chakra (the root chakra) located in the tailbone. The Swadishtana chakra is the energy center responsible for our creativity, sensuality, pleasure and expression. It’s also commonly believed that the hips are connected to sexuality and individuality. When our hips are tight and weak, the chakra or energy center is blocked and imbalanced. This area connects us to ourselves, our emotions and desires. This is why most yoga stretches to open hips are the same as those that open and energize the Swadhisthana chakra.
The benefits of yoga stretches for hips
Injury prevention
Hip openers release tension help in the back and hip region. They stretch and strengthen the muscles, while also giving a massage. This will help prevent pain, spinal misalignments and any other long-term damage. It’s important to open the front, back and sides of the hips efficiently to increase mobility and flexibility. Yoga poses for hips are extremely beneficial for the hip and back, relieving pain and preventing injuries.
Protect your hips and knees
Hip opening asanas must be done correctly and with the guidance of a teacher. The knee is a hinge joint which can only be flexed and extended. It cannot be rotated. The job of rotation lies with the hip as it is a ball-and-socket joint. This is why there tends to be more pressure on the hips. Yoga for hips will give the hips much needed attention and relief.
Stronger body balance and stability
When the hips are open and flexible enough, movement and range of motion is free, balanced and stronger. The hips are strongly connected with the pelvic area where there are a lot of muscles involved between the upper and lower back. These muscles are held together by connective tissue. Now although the tissue creates stability, we also need a certain amount of flexibility in order to be able to move functionally and create an optimal flow of movement. That’s where including yoga for tight hips in your regular practice will contribute significantly. There is also a significant improvement in blood flow and energy flow between the upper and lower body. Thus, yoga asanas that strengthen the hips, muscles in the hips and back, improve blood flow, stability and range of motion are extremely beneficial in avoiding back pain and injuries to other parts.
Hip Opening Yoga Poses
Bound angle pose (Baddha Konasana)
Baddha Konasana is a beginners posture that is extremely beneficial in releasing tightness around the hips and lower back. It relaxes the pelvic region, opens up the hips and inner thighs. It also induces blood flow and improves circulation in the abdomen, lower back and hip region.

How to do Baddha Konasana:
- Sit with the spine straight and legs wide apart.
- Now bend the legs and bring the feet as close to the groin as you can. Join the soles of the feet together.
- Grab the feet or the toes tightly with the hands. You can place the hands on the mat, below the feet, if you need more support. Ensure your back remains straight.
- Now slowly try to bring the feet closer to the groin if you can.
- If you are comfortable, you can also try to slowly push the thighs and knees towards the mat. Remember to be gentle and do as much as possible.
- Engage the core so you are able to hold the posture. Keep your attention on the stretch in the groin, inner thighs and back.
- Stay here for a few slow, deep breaths. This will help you relax in the posture.
- To come out of the posture, slowly, exhale and release the toes or feet.
- Extend the legs forward into the staff pose (Dandasana) and relax here.
Lizard Pose (Uttana Pristhasana)
The lizard pose is one of the best hip openers. It provides an intense stretch to the hip region, strengthening and stretching all the muscles. Let go of tightness and tension in the region with this asana. You can also practice variations in this asana to make the stretch more intense.

How to do lizard pose:
- To practice low lunge, take your right foot between your hands. Make sure your right knee is directly above your right ankle. Now, take your right hand on the inside of your right foot such that both your hands are close to each other.
- To make the stretch intense, come onto your forearms. You can either keep your left knee raised up or gently drop it to the floor. You can also keep a blanket or a small cushion below your knee for comfort.
- Stay here or gently move your body back and forth.
Low lunge
Most tightness is felt around the hip flexors and quadriceps. It is important to give a lot of attention to this area. The low lunge will not only stretch out the hip region but also give your back and thighs a good stretch. Furthermore, it will improve blood circulation and strengthen the muscles.

How to do low lunge:
- To practice low lunge, take your right foot between your hands. Make sure your right knee is directly above your right ankle.
- Now gently drop your left knee to the floor. You can also keep a blanket or a small cushion below your knee for comfort.
- Bring both hands to your waist and gently push your hips forward till you begin to feel a nice stretch.
- Keep facing your right leg. Don’t let your shoulders round. They should remain open.
- Stay here for a few deep breaths or as long as you are comfortable.
One-legged Pigeon pose (Kapotasana)
Kapotasana is also a wonderful hip opener. It’s also a very relaxing asana that tends to massage the muscles in the lower back and hip region. Doing a variation, where you bring your forehead close to the mat is a restorative version that relaxes the mind and body while also providing an intense stretch to the muscles.

How to do Kapotasana:
- From Downward facing dog (Adho Mukha Svanasana) bring your right leg forward. Fold the leg and place the knee between your palms.
- Your left leg will remain stretched out behind you. Keep your palms beside your thighs and try to arch the back and look up. If this is difficult, you can also look ahead of you.
- Ensure that the Sacro-illac joint (between spine and hip) is not stressed, keeping the lower back stable while arching back more from the upper back will help.
- Your right foot will either be pointing outwards or pointing towards your body. You can adjust this based on your flexibility.
- Stay here for a few breaths. Pay attention to the stretches in the lower back, hips and thighs.
- Repeat this with the other leg.
Standing wide-legged forward bend (Prasarita Padottanasana)
The Standing wide-legged forward bend stretches the back of the legs, the thighs, hips and inner groin region. It improves hip mobility and stability, giving an intense stretch to the hamstrings. It also strengthens the leg and back muscles and also provides a stretch because of the lengthening effect. It is beneficial in relieving mild back pain and helps tone the abdominal organs.

How to do Prasarita Padottanasana:
- Stand straight in Tadasana.
- Move your feet away from each other. Keep about 3 – 4 feet distance with toes facing forward forming an equilateral triangle with the legs. You can adjust the distance based on your height. Ensure your feet are completely grounded and balanced.
- Hold your waist, breath in, bend back a little, lengthen your spine and as you breath out bend forward from your hips going all the way down.
- Keep the feet firmly grounded on the mat, and spine as straight as possible.
- Gently make an effort to place the top of your head on the floor and palms or forearms (whichever is possible and comfortable for you) next to the head on the floor.
- Hold and keep breathing.
- To come out of the posture, slowly breathe in, lift head up first and take a breath. Now place your hands on the waist and lift up through the spine and trunk region.
- Exhale and release both the arms and relax in Tadasana.
Garland pose (Malasana)
Often known as the yogic squat, this posture increases the blood flow in the abdomen and pelvis, and strengthens the pelvic floor muscles. It also opens up the groin and hip region. It also improves hip mobility, flexibility and stability. It is recommended to stay in the posture for 5-10 breaths, and to repeat a few times. It’s also one of the best asanas for women’s health.

How to do Malasana:
- Stand with the feet shoulder width apart and pointing outwards. Slowly, come down into a squat.
- Take the palms and place them in Namaskar mudra between the thighs such that the elbows are pushing the thighs further apart.
- Stay here for a few deep breaths.
- You can also do variations in the posture such as standing on your toes, walking in a squatted position on your mat, etc. These variations will further open up the hips and make the stretch more intense.
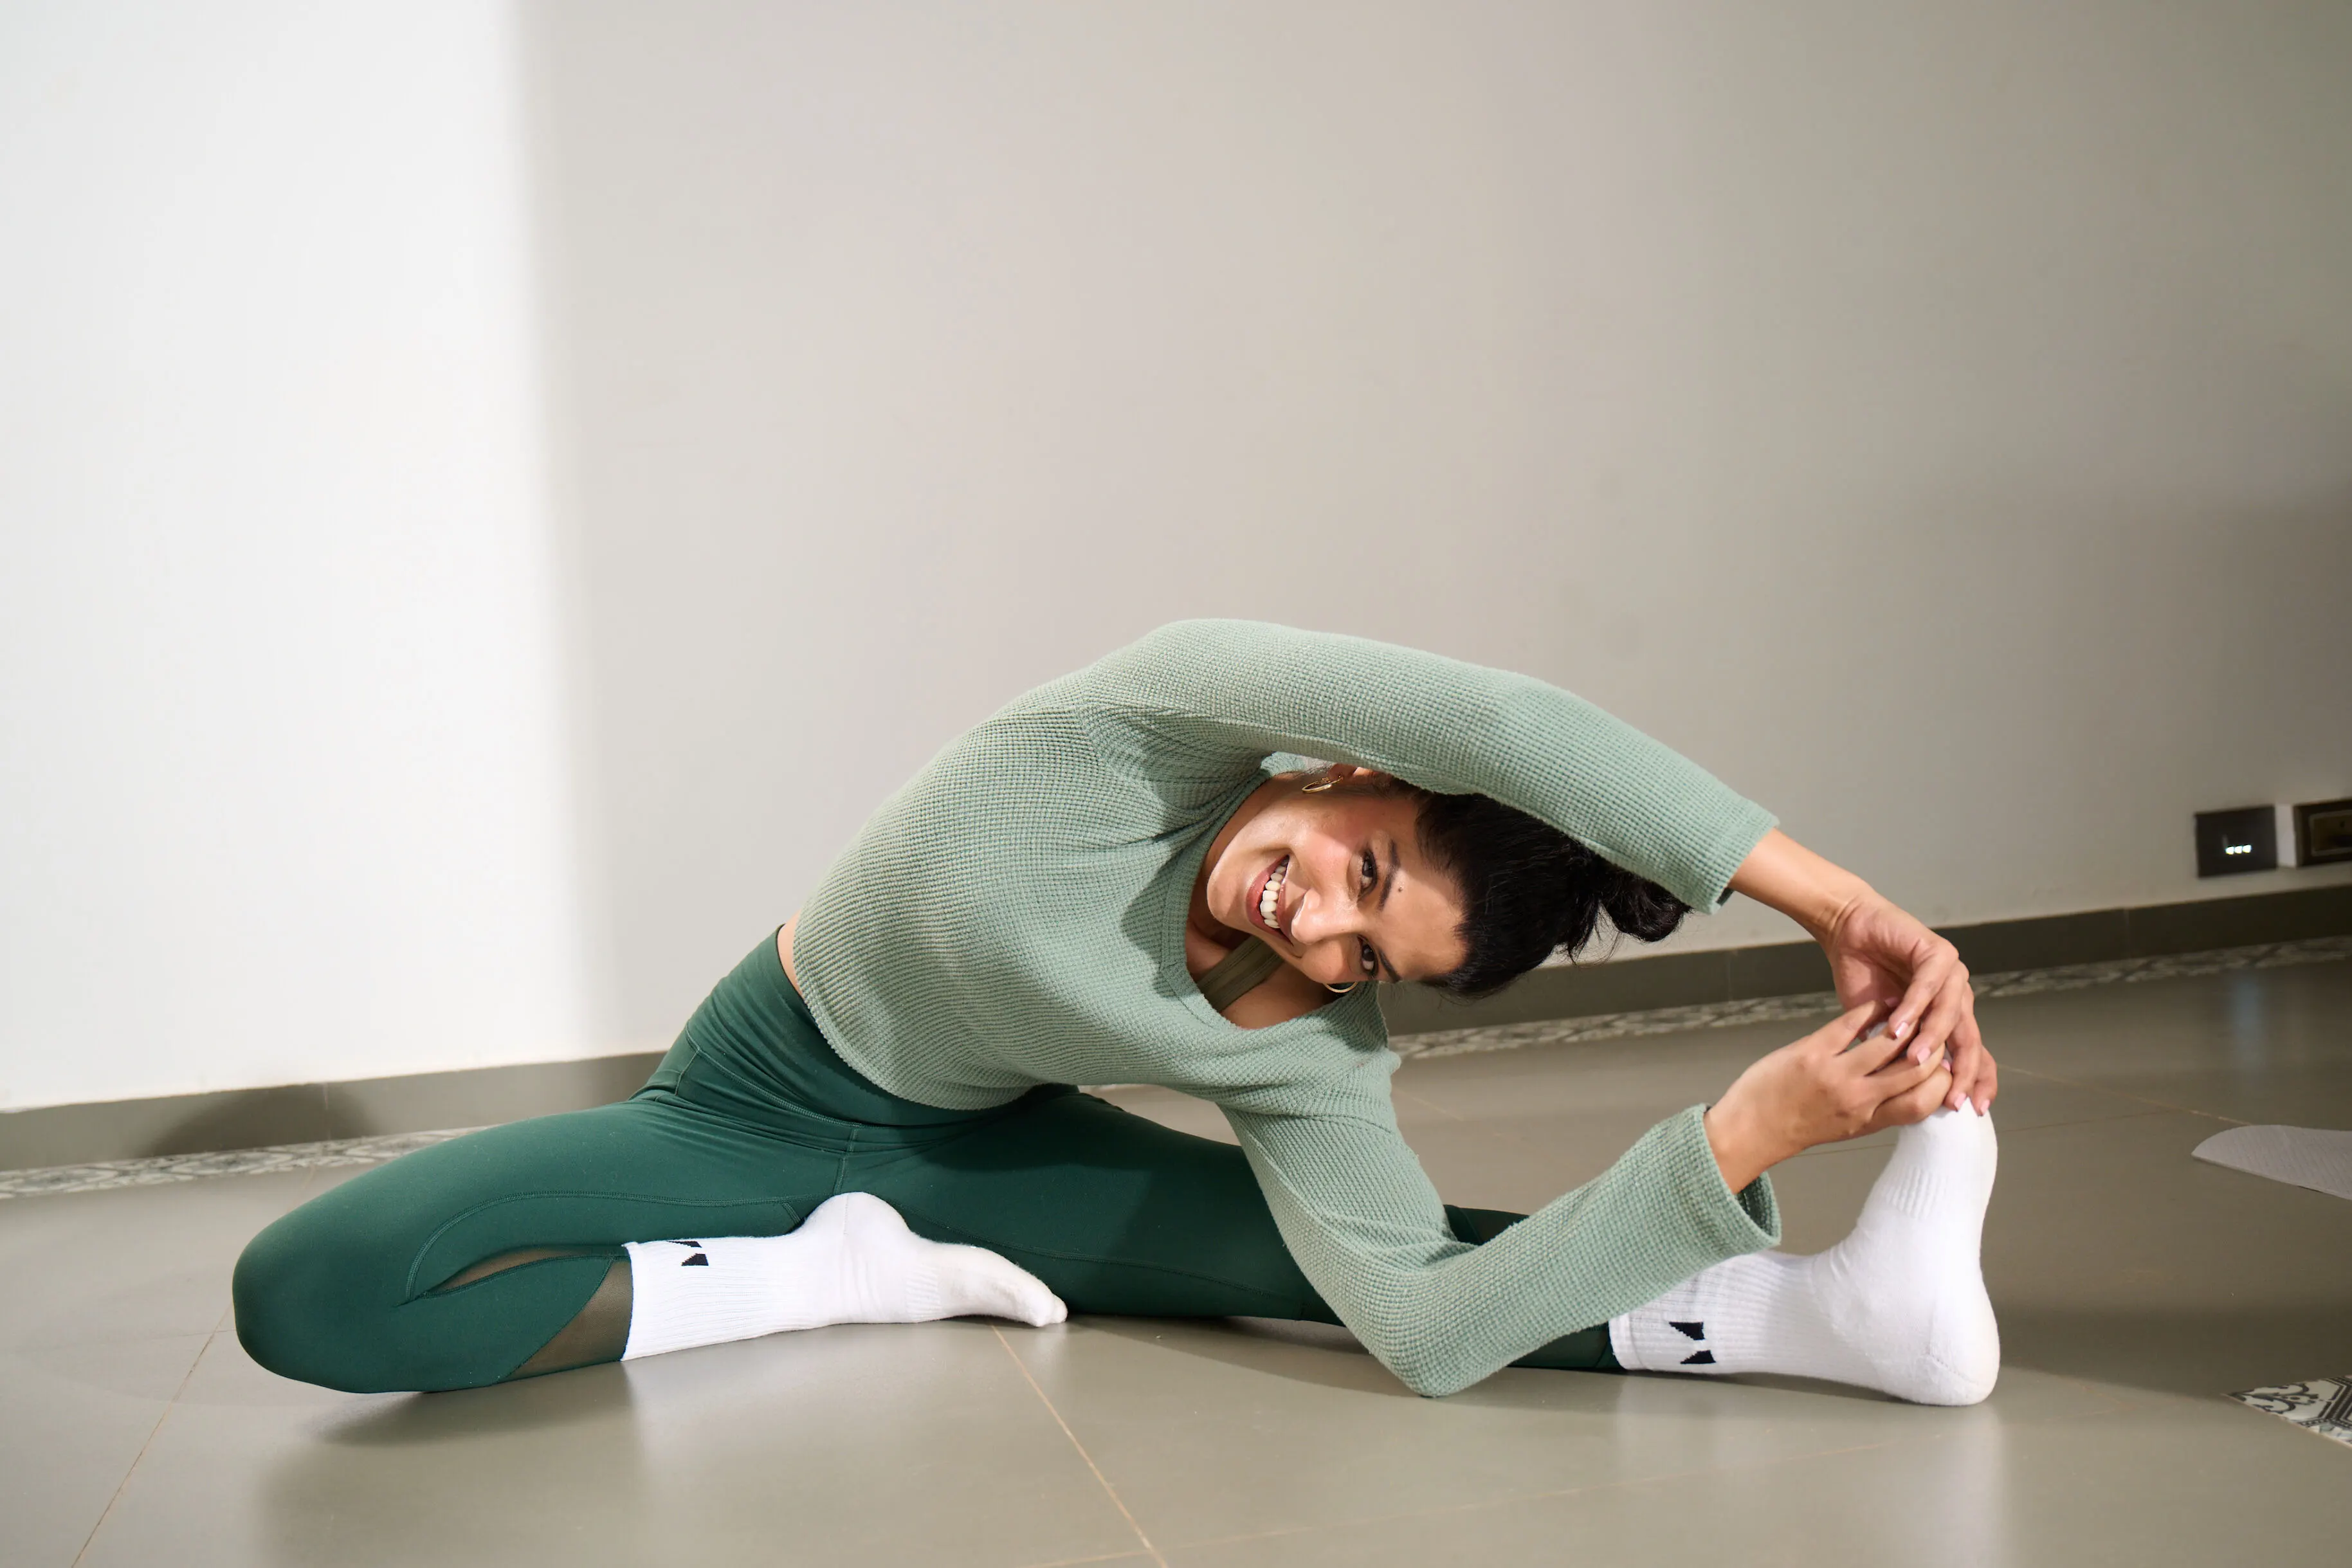
One-legged forward bend (Janu Sirsasana)
This is a great asana to relieve back pain, improve blood circulation and hip mobility. Janu Sirshasana also provides immense stress relief. Activating the parasympathetic nervous system and vagus nerve, the asana infuses the body with energy, removing fatigue and weakness.

How to do Janu Sirsasana:
- From Dandasana, the staff pose, keep the right leg forward. Fold the left leg and place the left foot on the inside of the right thigh.
- Inhale, and start bending from the hips. Hold your right foot with both hands. Inhale, straighten the back and push the chest forward.
- Exhale, fold forward, bringing the chest closer to the thighs. Now stretch the lower back, and go down further with the exhale, engaging the core. Look up towards the toes.
- To come out of the pose, release the grip. Inhale, raise both the arms up and lift the chin and chest as well. Come back to the staff pose, Dandasana.
Concluding thoughts
Including a hip sequence in your yoga practice is essential to maintain good hip health. Many asanas will work on different aspects like blood circulation, mobility, flexibility and stability. Try to incorporate deep breathing and coordinate your breath with the movement to experience all the benefits.


.jpg)


%201.png)

%201.svg)


%201.svg)