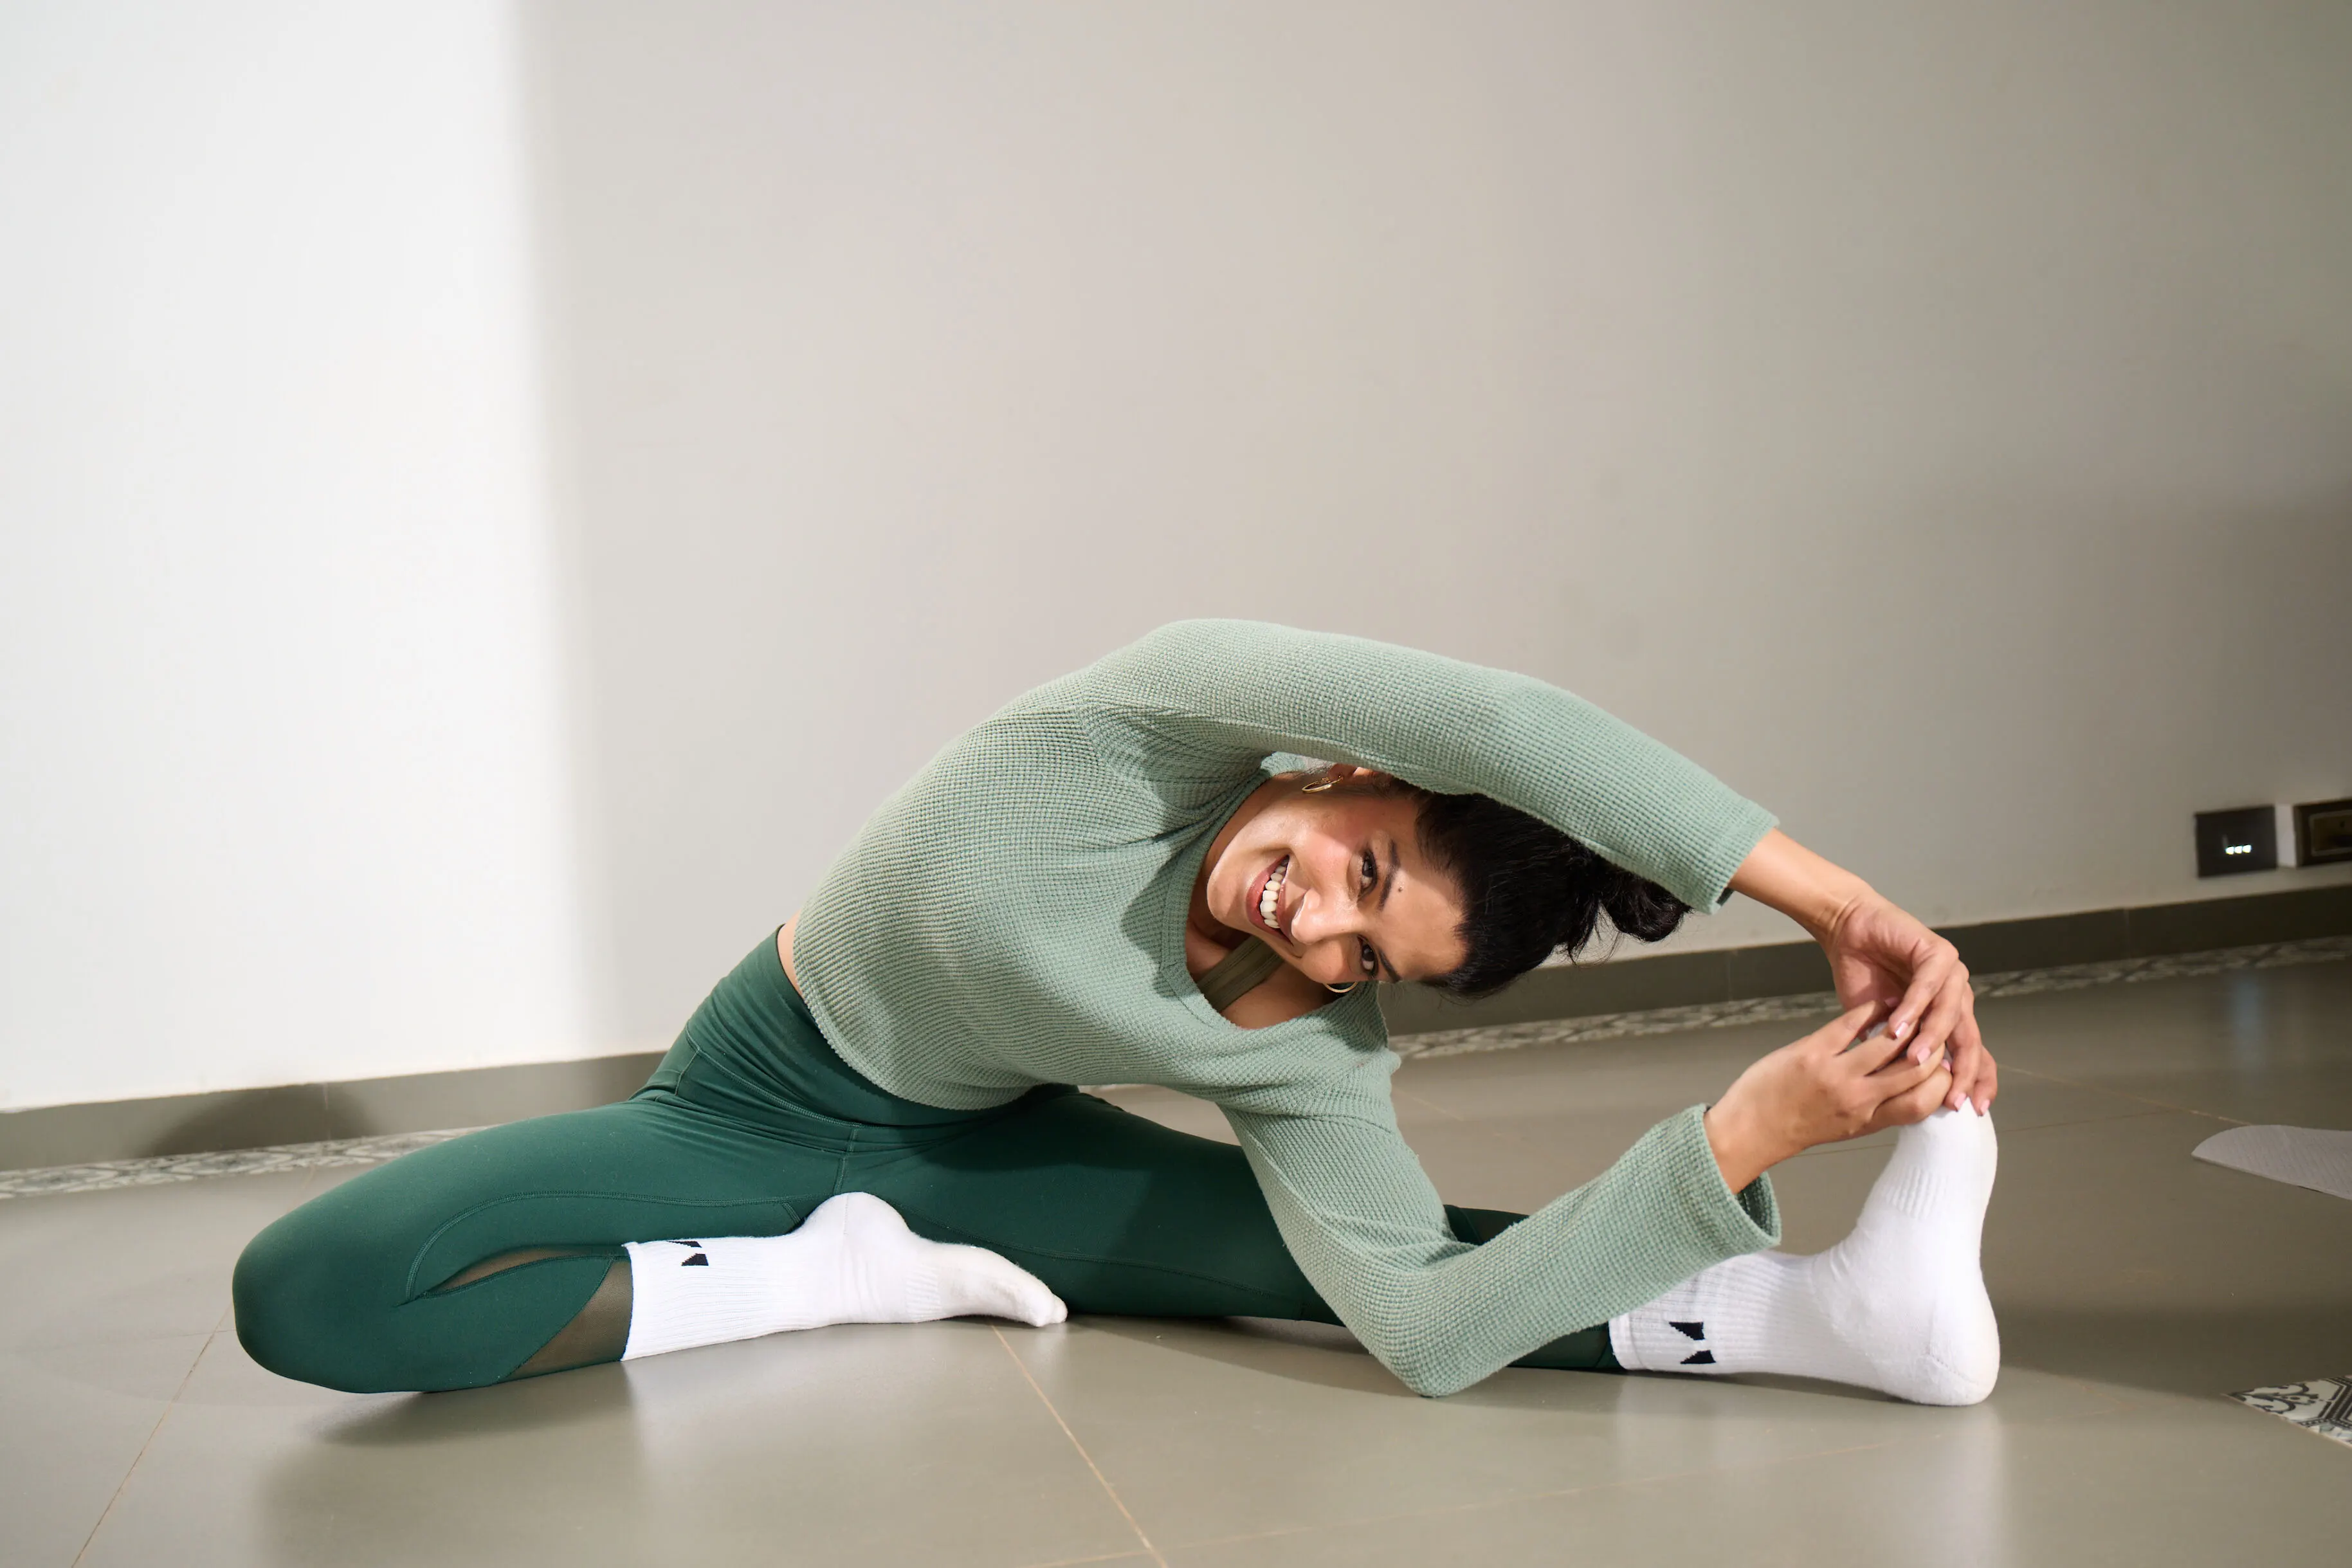
The knees are one of the most important joints in the body. From holding body weight and helping us stand straight, to absorbing shock from everyday movements such as walking, running, jumping, working out in a gym or on a yoga mat, the knees do it all. Taking care of the knees is critical to maintain good health, flexibility and mobility even as you age. Whether or not you are experiencing pain in the knee joints, strengthening the muscles around the knees helps make the knees stronger. This includes the hamstrings, quadriceps, abductors, adductors and calves.
Before practicing knee strengthening asanas, ensure you inform your yoga teacher about any pain, stiffness or weakness you are experiencing in the knees. If a doctor’s sign-off is required, your yoga teacher will instruct you to get the same before starting a practice. Be honest with your teacher as it is critical for the teacher to be able to guide you through asanas suitable for you. Remember to always listen to your body and do what feels good.
7 Yoga Asanas to Strengthen the Knees
Warrior 1 and 2
Practicing Virabhadrasana 1 and Virabhadrasana 2 are useful for strengthening the entire legs. From the calf muscles to the quadriceps, hamstrings, abductors and adductors, Warrior 1 and 2 demands core and legs engagement when practicing. By strengthening these regions, stability and balance of the knee muscles improves greatly. This strengthens the entire legs and even back. The position of the arms is each of the poses also has a strengthening effect on the arms and shoulders.

How to do Warrior 1 and 2
- The starting position of all these asanas is the same. Stand about 3 feet apart with your right foot facing forward while your left leg is straight behind you with your foot flat on the floor. The foot will be pointing outwards.
- Come into a lunging position with your torso facing forward for warrior one.
- Now raise your hands up and gaze forward. Make sure your front leg knee is in line with your foot and thigh is parallel to the floor.
- For warrior 2, turn your torso to the side such that you are facing sideways. But turn your neck and look in the direction of the front foot. Bring your hands to shoulder level such that the hands are parallel to the mat.
- For both poses you will have to engage the core, thigh muscles, abdominal muscles and take deep breaths. Keep the back straight, focus your attention on any stretch you are feeling in different parts of the body.
Triangle Pose
Also a powerful posture that works on the inner part of the quadriceps, a region that tends to be weak with weak knees, Trikonasana tones the muscles supporting the inner quads. It stretches the muscles around the knees, making them stronger.
%20-min.jpg)
How to do Triangle pose
- Stand straight and keep the feet about 3-4 feet apart.
- Now align the center of your right heel with the center of the left foot. Ensure your feet are pressing the ground firmly and the weight of your body is equally balanced on both the feet.
- As you inhale and exhale, bend your body to the right, downward from the hips and keeping the waist straight. Now extend the left arm up towards the sky, rotating the hip, abdomen and chest to the left side and your right hand comes down towards the floor. Keep both arms in a straight line.
- Straighten the front knee, pushing the hips back, maintaining a lateral stretch on the left side of the body. Find your balance looking down, and then look up towards the left fingertips.
- Breathe deeply while you stretch to the maximum and maintain balance. Repeat the pose with the other leg.
Standing Forward Fold Pose
Known as Uttanasana, this asana stretches the hamstrings and quadriceps, regions that tend to be tight due to sedentary lifestyles. When these areas get too tight, it takes the alignment out of the knees, affects how weight is held and even stability. Your yoga teacher can suggest modifications where you slightly bend the knees initially until the muscles get stretched out.

How to do Standing Forward Fold pose
- Stand with your feet hip-width apart and your arms at your sides.
- Raise your hands up and start bending over at your hips until you’re placing your palms on your shins, ankles, or the floor (wherever you can reach).
- You can bend your knees a little bit, but try to keep them as straight as you can.
- Let your head hang down and relax, whilst keeping your legs nice and long.
- You can hold the pose for up to a minute or as long as comfortable.
Chair pose
Utkatasana is a core strengthening asana that actively engages the quadriceps that support the knee joints. It requires you to shift your body weight to the hip sockets, reducing pressure on the knee joints. The hamstrings and quadriceps also get stronger by regularly practicing Utkatasana.
.JPG)
How to do Utkatasana
- Stand in the tree pose (Tadasana). Now take your feet slightly apart (a little less than shoulder width).
- Slowly bend your knees such that your thighs are parallel (or almost parallel) to the floor. Pretend like you are sitting on the chair, but actually your buttocks are in the air. Make sure your back remains straight.
- Now raise both the hands up keeping them straight. Look directly in front of you and hold the posture with your breath.
- You will have to engage the core and thighs to hold the posture.
Tree Pose
Balancing posture, Vriksasana, helps build the muscles supporting the knees. All the surrounding muscles are engaged when practicing Tree pose, making them stronger and improving stability.
%20-min.jpg)
How to practice Vriksasana
- Stand in the Mountain Pose, Tadasana. Stabilize your posture with both your feet rooted into the floor and weight evenly distributed.
- Now shift your weight onto your right foot. Slowly lift your left foot off the floor.
- Ensure the right leg is straight but don't lock the knee.
- Bend the left knee and place the sole of your left foot at the top of your right inner thigh.
- Engage the foot and thigh by pressing the left foot into your thigh and your thigh back into your foot with equal pressure. This will help you keep both hips towards the front and avoid the right hip from jutting out.
- Bring the hands into Namaste Mudra in front of your chest. If you are comfortable, you can raise the hands up above the head in Namaste.
- Gaze directly at a point in front of you to maintain balance.
- Stay in the posture for a few deep breaths. Then slowly lower your left foot to the floor. Repeat this with the other leg.
Warrior 3
Also known as Virabhadrasana 3, this asana strengthens the abductors on the outside of the hips, the gluteus medius and gluteus minimus muscles. The stronger these muscles, the stronger the knees. You can also try practicing by bending the standing knee a little bit to improve stability and balance in the posture initially.
.jpg)
How to practice Virabhadrasana 3
- Stand at the front of your mat with feet hips-width apart.
- Inhale, extend your arms to the ceiling and shift your weight to your right leg.
- Exhale and start bending forward from the upper body.
- Raise the left leg and straighten it out behind you.
- Engage the core and the legs to maintain your balance. Keep the left foot flexed.
- Ensure the hips stay in one line.
- Gaze directly in front of you.
- To release, return slowly to a standing position and then repeat on the other side
Reclined Hand-to-Big-Toe Pose
Supta Padangusthasana stretches the muscles in the inner thighs, hamstrings and calves. It releases tightness and stiffness as well as pain from the knees and hip area.

How to practice Supta Padangusthasana
- Lie down on the back and keep the knees straight with the feet slightly separated.
- Now bring the right knee close to the chest and keep the left hand on the hip.
- Grip the right big toe with two fingers and the thumb. From here, straighten the left leg, then inhale and extend the right leg towards the ceiling.
- Exhale, lift the head up, forehead towards the knee. Bring the leg closer towards the head if possible.
- Stay here for a few breathes or as long as comfortable.
- Once you come out of the posture, repeat this with the other leg.
- To come out of the posture, exhale and slowly release the head down first.
- Then bend the knee and drop the foot down.
- Relax in Savasana for a few breaths.
You can practice simple knee strengthening exercises such as sitting on a chair and raising the leg a few times. Or, place a yoga block behind a chair, hold onto the back of the chair for support, place the toes on the block and raise the heel up and down a few times. It’s always best to learn these exercises in a live yoga class with a teacher’s guidance.
All of the asanas mentioned above also improve blood circulation and oxygen to the knee joints. This maintains the health of the joints, keeping them strong. Only with consistent practice will you achieve stronger knees. The knees tend to bear a lot of stress, so keeping healthy, rejuvenated and energized is helpful in the long run.


.jpg)


%201.png)

%201.svg)


%201.svg)