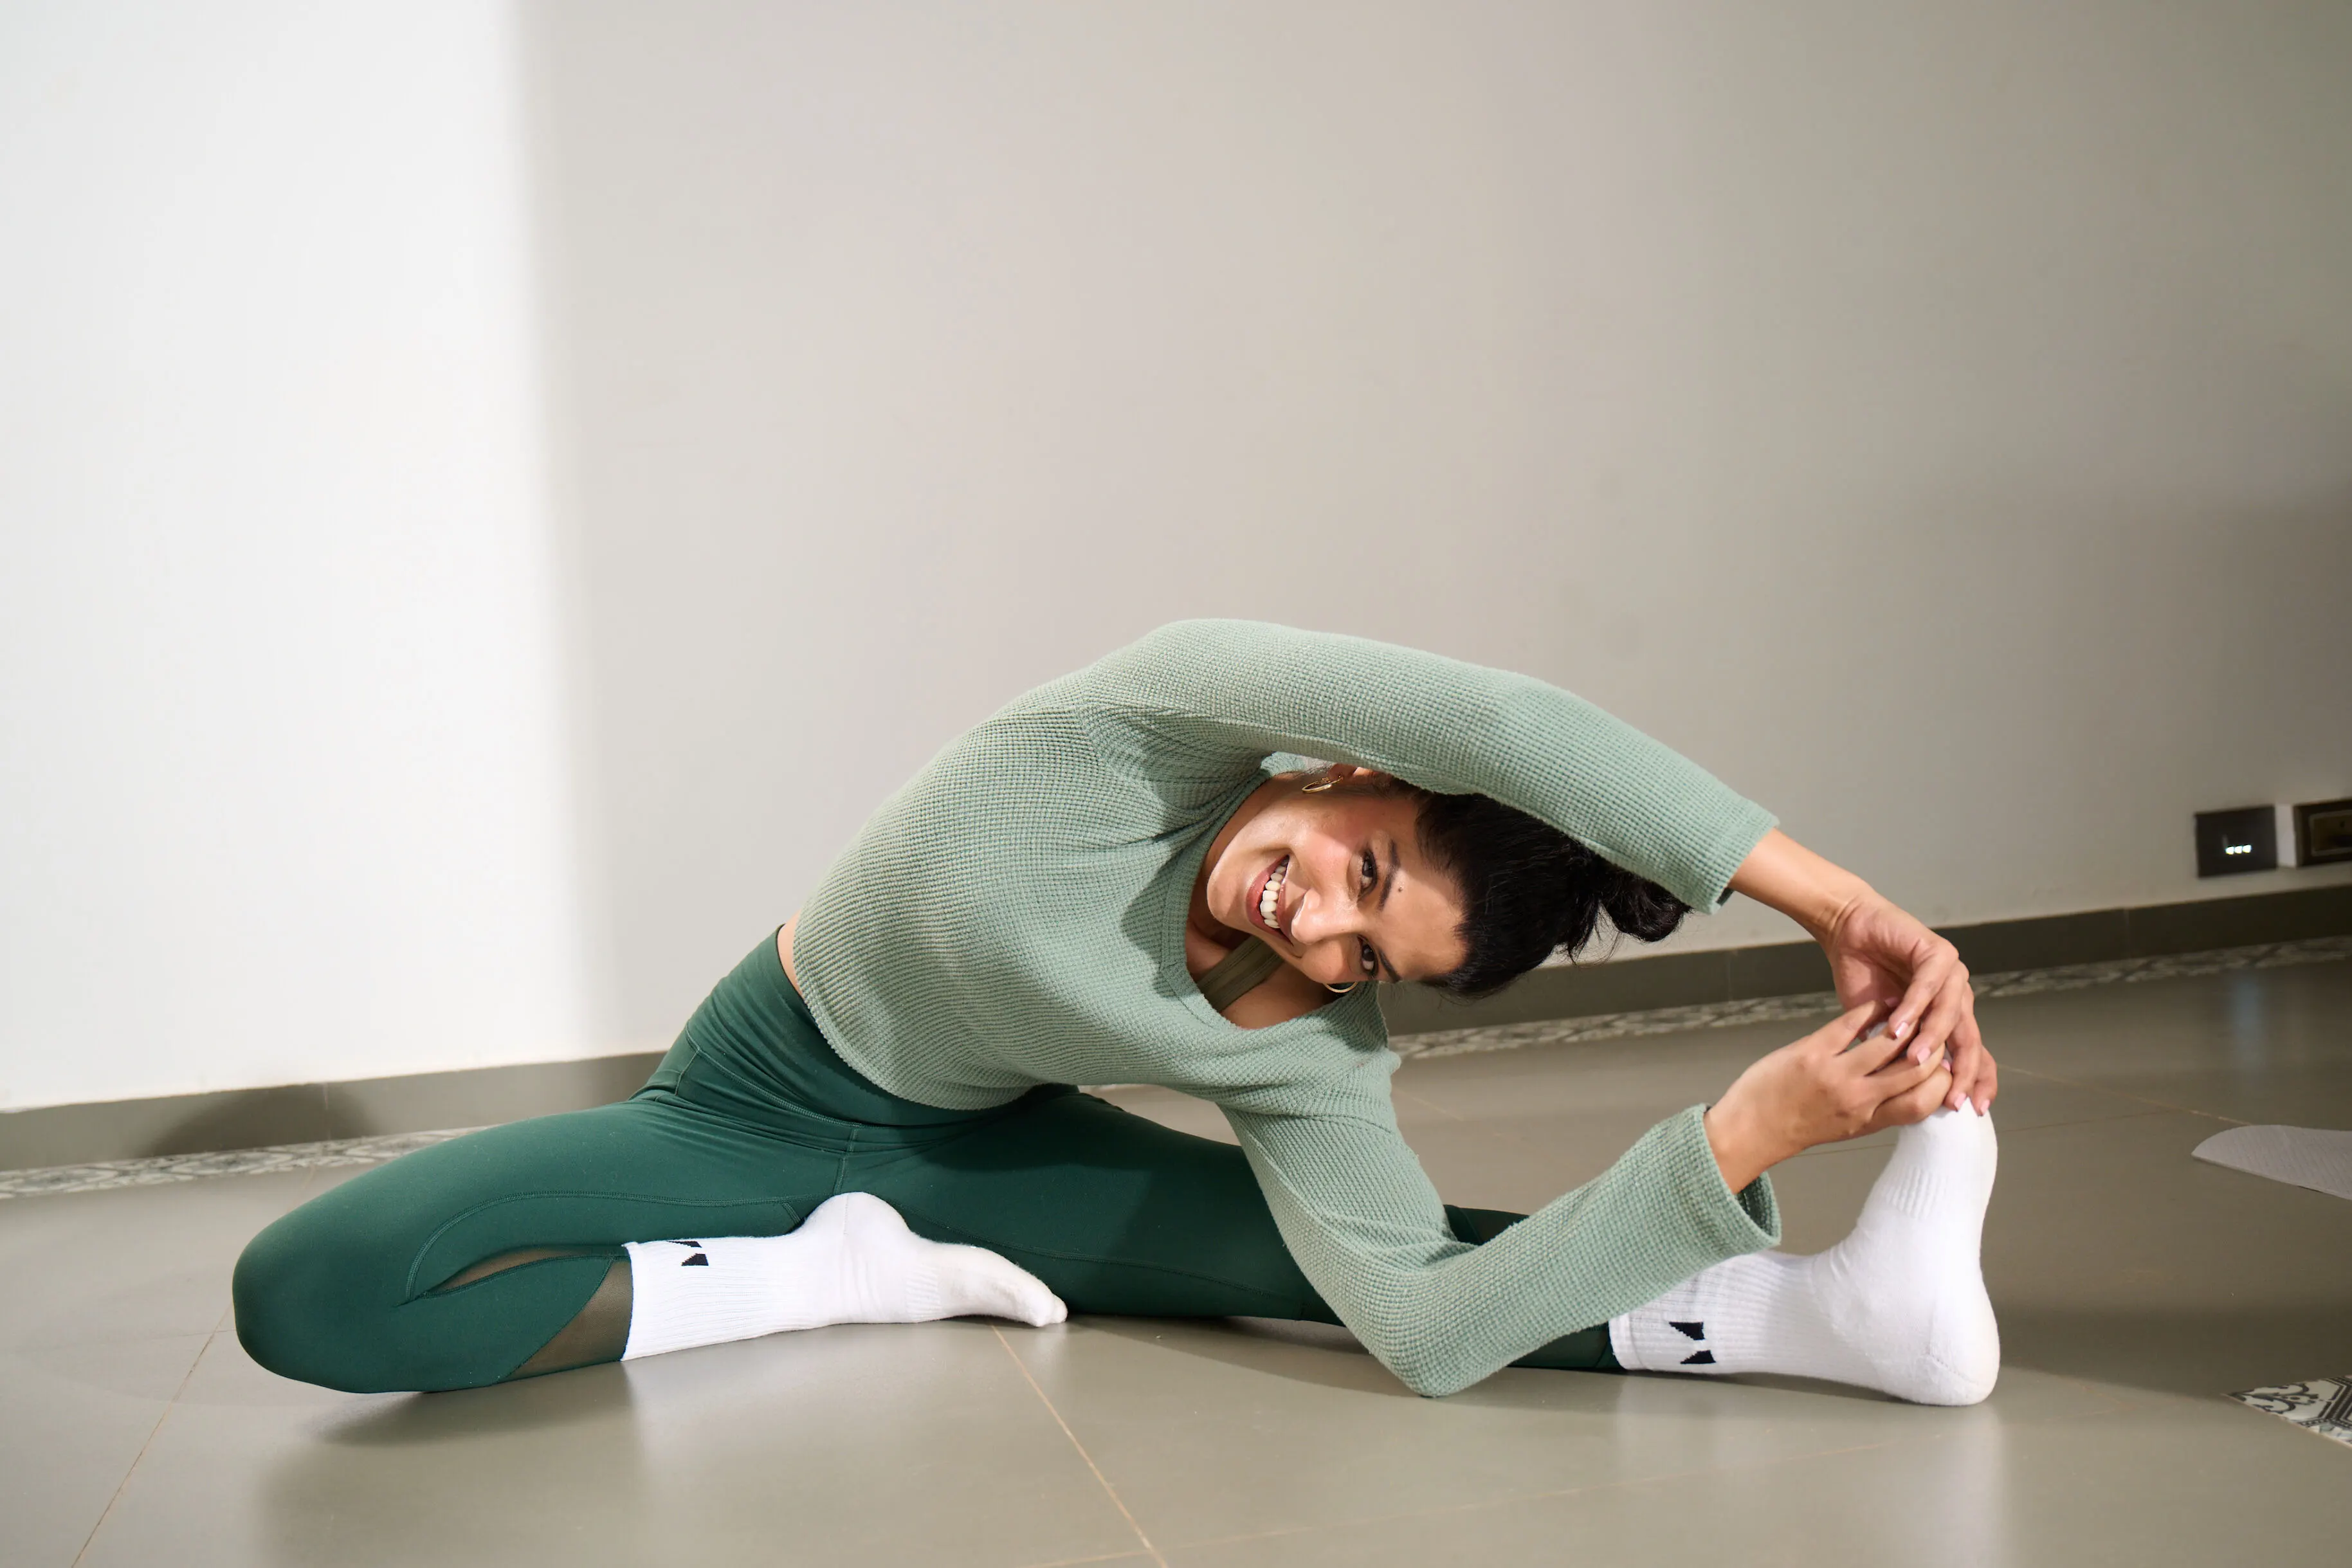
Hanumanasana, known as the Split lunge Pose, is named after the leap made by Lord Hanuman from the tip of India to Lanka in the popular text Ramayana. It is an advanced hip opening posture that requires immense flexibility and stretches the hamstring and groin region.
Position type: Split
Posture type: Seated
Ideal for: Flexibility and mobility
Targets: Hips and groin
Pose level: Advanced
How to prepare for Hanumanasana?
Practitioners should take the time to continuously stretch and open up the hip region before attempting the posture. This is not only for warm-ups but to be able to effortlessly practice Hanumanasana with the right alignment.

Hip flexibility
Practice hip-opening stretches such as the Bound Angle Pose, Garland Pose, Low Lunge and High Lunge, the Happy Baby Pose, Side Angle Pose and Trikonasana. Dynamic movements such as Skandasana or the side-lunge are also helpful. You can also practice Reclined Bound Angle Pose, Downward-Facing Dog Pose, and Reclined Hand-to-big-toe Pose. Hip stretches such as cradling the baby pose and the Wide-legged Seated Forward Bend will also help open up the hips.
Back strength and flexibility
The back is strongly connected to the targeted region. So, practice Seated Forward Bend, Wide-legged Seated Forward Bend, Camel Pose, Cobra Pose and Locust Pose to improve strength and flexibility of the back. Bow Pose and Upward Facing Dog Pose are also good to practice. Lateral bends such as Gate Pose and Seated side Bend will also help here.

How to do Hanumanasana
Getting into the posture
- Come into the lunge position with one leg (left leg) stretched out behind you and the right leg in front with the foot on the mat and knee facing the ceiling.
- As you exhale, start stretching the left leg straight and further back till the knee and the front of the foot touch the ground. Place the fingertips on the floor.
- Now start stretching the right leg forward. Keep sliding the leg forward until it touches the floor completely.
- By sliding the left leg back and right leg forward, come into a split position.
- Ensure that the toes of the right foot are pointing towards the ceiling and the front of the left foot is touching the ground.
- Slowly, raise your palms and join the hands in Namaste Mudra. Stretch your arms and arch your back a little.
Getting out of the posture
- After staying in this position for a few deep breaths, bring your arms back down.
- Slowly, shift the weight of the body onto the hands by pressing them on the floor. Slide your left and right feet back to the initial position.
- Now repeat the same with the left leg in front and right leg behind.
Key Alignments in Hanumanasana
- There is a tendency for the hip on the side of the back leg to raise up or turn outward. Try to bring it inward and push it down towards the mat as much as possible.
- Ensure that the knees remain straight, especially the back knee.
- Try to keep the torso straight and not curving towards one side.
What are the benefits of Hanumanasana?
This pose stretches and strengthens the hamstrings, thighs, groin and entire hip region. It has a strengthening effect on the lower back too. It stimulates and massages the abdominal organs and improves functioning. With more practice, the flexibility and mobility of the hips improves greatly. The Monkey pose improves muscle strength, endurance and flexibility.
What are the contraindications of Hanumanasana?
Hanumanasana should be avoided by anyone with a hamstring, groin or back injury. Forcing yourself into a full split can cause harm. Keep the awareness on the muscles in the hip region and in case of any uncomfortable feeling, reduce the stretch.
What are the counter poses for Hanumanasana?
Practice Child’s pose, Seated Forward Bend or Downward-facing Dog pose for a few minutes after doing Hanumanasana.

Variations of Hanumanasana
Easy variation
- Keep the hands down either touching the floor beside you or on a block if you are not able to raise them up initially.
- You can also keep the back straight and avoid the back bend in the beginning.
- Place a blanket below the knees and ankles to avoid pain or discomfort.
- If you are not able to do the full split, you can place a block below the buttocks in the beginning. As flexibility improves, you can gradually remove the block.
- You can also place a blanket below the front foot to help you slide forward.
Advanced variation
- One can increase the backbend if raising the hands up is comfortable.
- You can also bend forward and bring your forehead down on the ground in front of you if comfortable.
Advice for beginners
Keep your awareness on the hips and back. In case of any discomfort, immediately release and try again once comfortable. Be careful not to allow one hip to raise up - try to keep both pushed down and straight. Start with the easier variations and as flexibility improves, you can advance in the posture.
Shvasa tips
- Don’t skip your warm-ups for this posture. It is very intense on the hips and hamstrings, so be careful when practicing.
- If you have any injuries in the region, don’t force yourself to practice.
- Push your body down only as much as possible. You will be able to touch the mat as your flexibility improves.


.jpg)


%201.png)

%201.svg)


%201.svg)