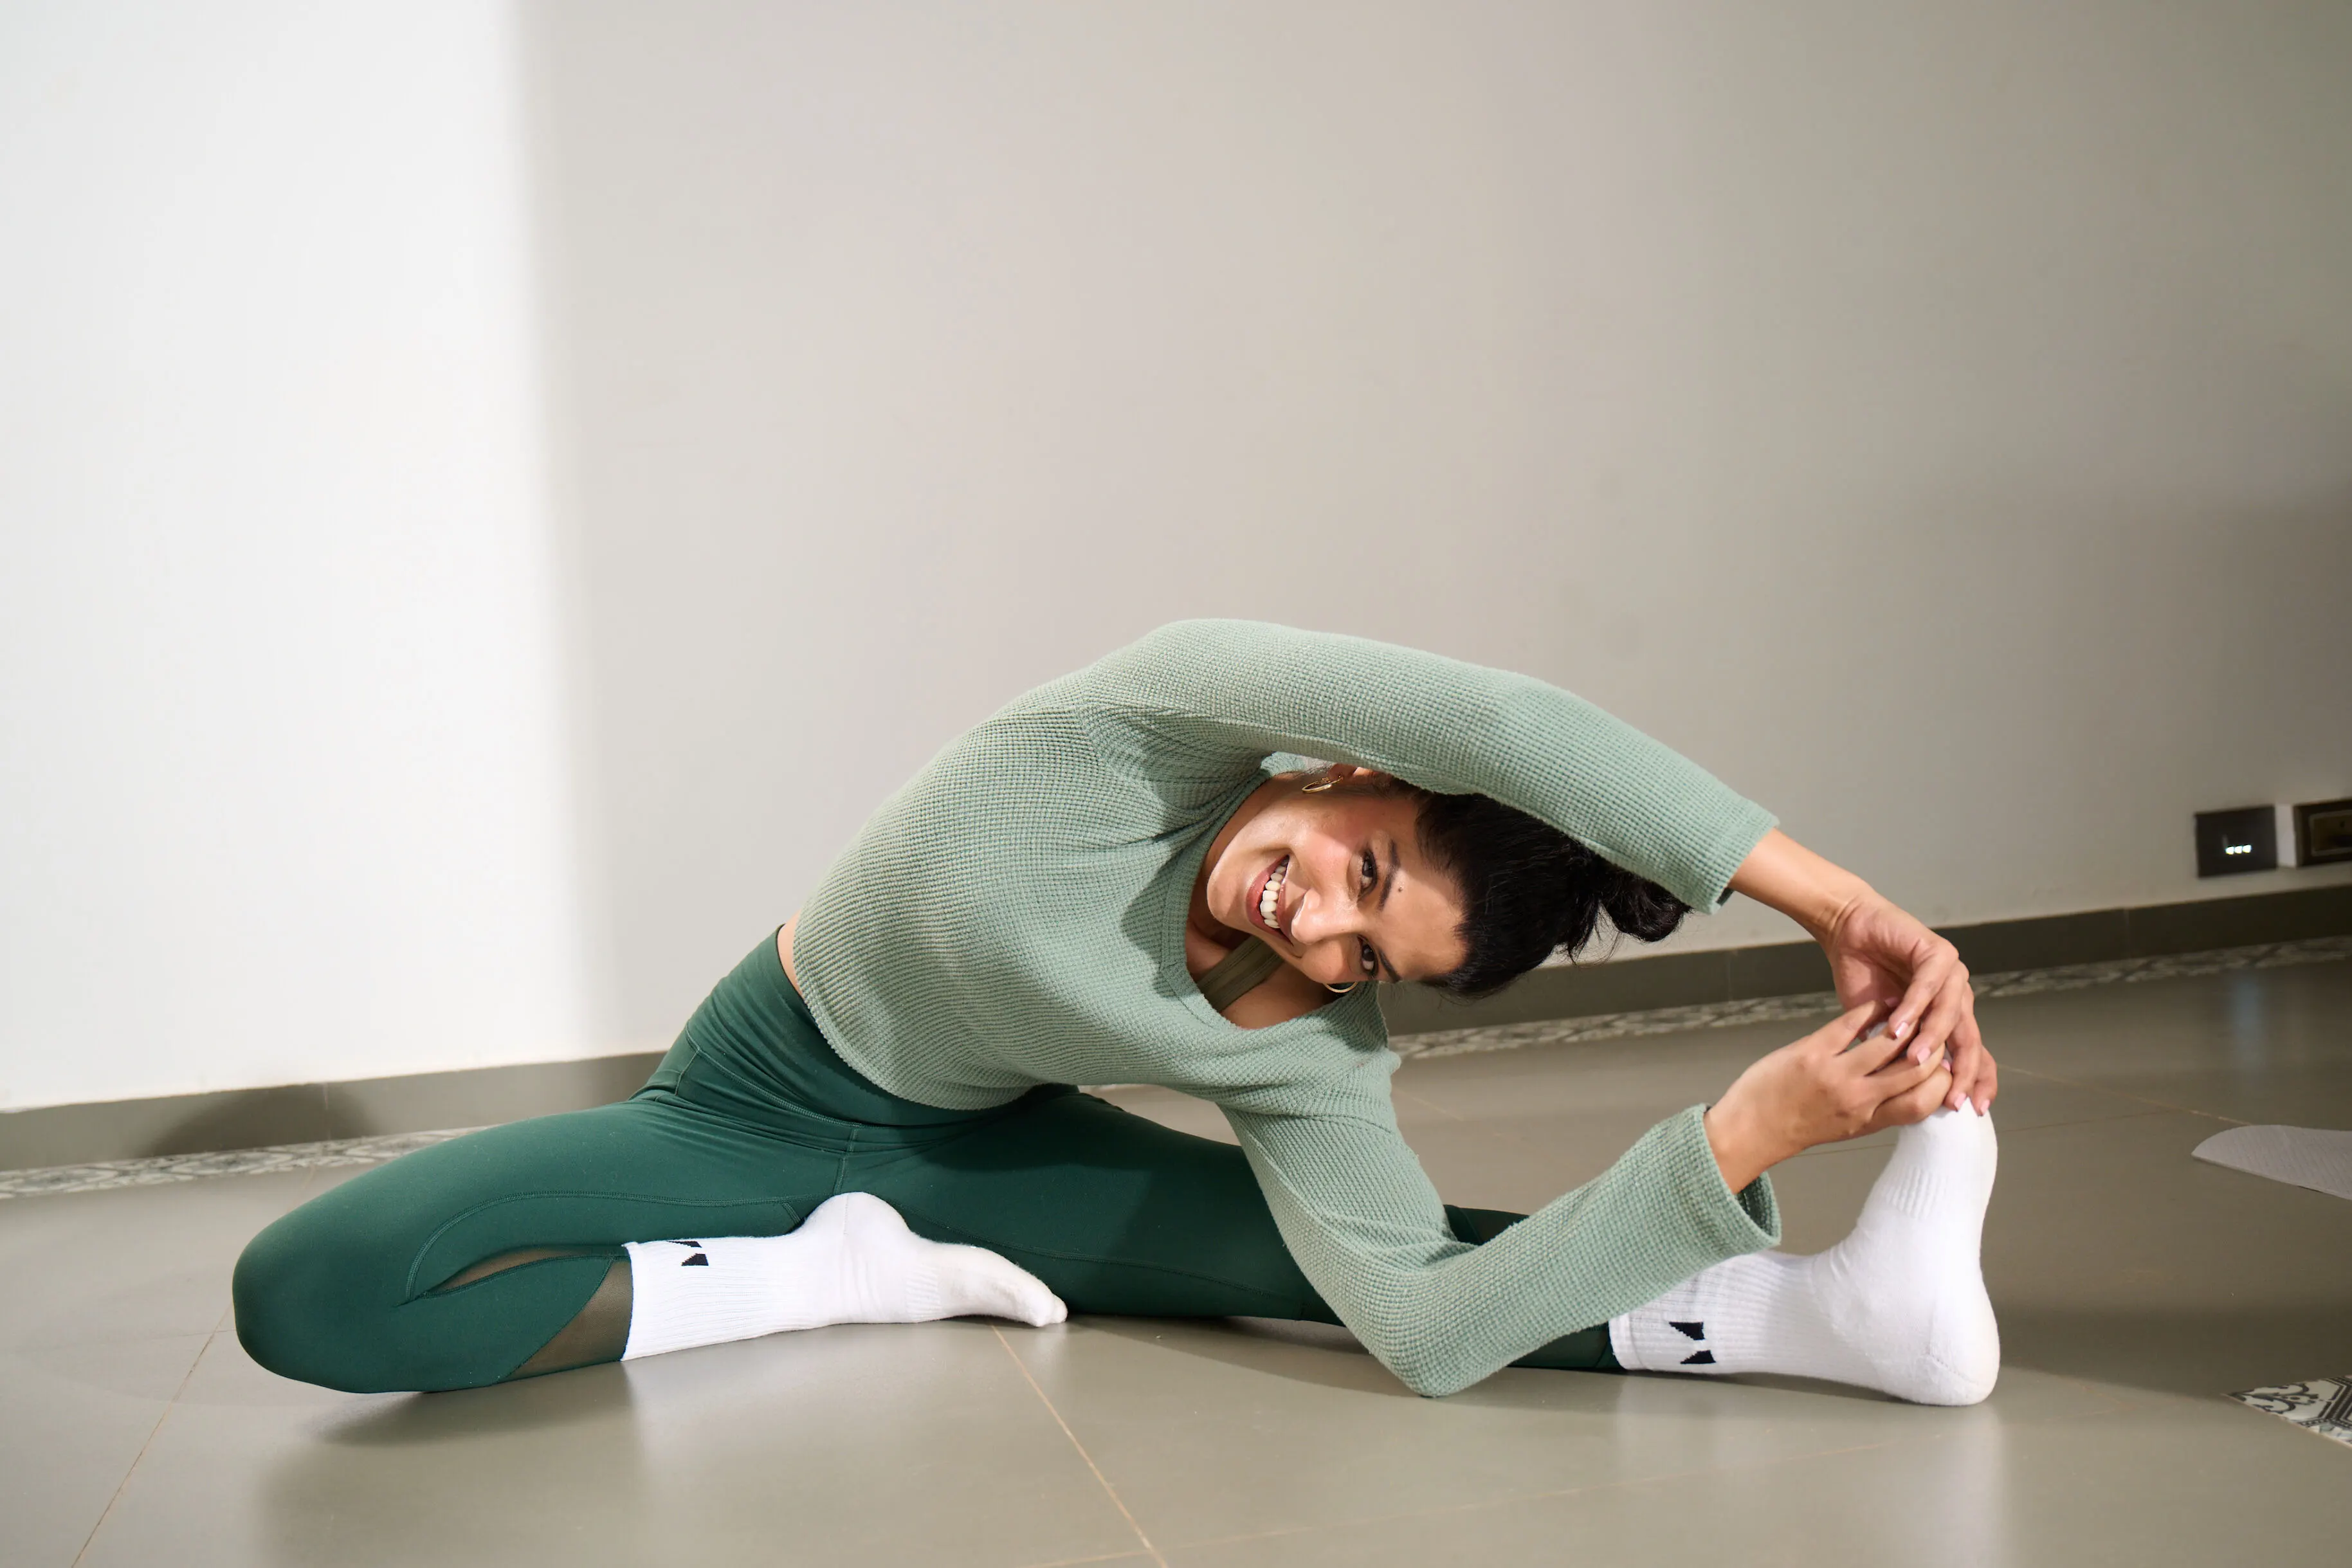
‘Parsvakonasana’ translates to ‘extended side angle pose’. It is also known as Utthita Parsvakonasana, where Utthita means extended. Hence, the asana is also called Extended Side Angle Pose. It’s a challenging asana that focuses on extension of arms and legs. It also opens up the hips and chest, improving respiration. This asana is normally practiced in the same sequence as the triangle pose (Trikonasana) and warrior (Veer Bhadrasana one and two). The extended side angle yoga pose focuses greatly on the right alignment to maximize on benefits and induces strength and energy.
Parsvakonasana yoga pose is said to activate the Manipura Chakra, located in the solar plexus region. It is the point where vital energy is regulated, determining many aspects within the body. When the Manipura chakra is active and balanced it eliminates fear and insecurity, igniting creativity, passion and strength.

What are the benefits of Parsvakonasana?
The benefits of parsvakonasana is that It lengthens and strengthens the spine, toning the spinal nerves, reducing backache and improving flexibility. The side angle pose benefits also include providing a great stretch to the entire body, improving overall muscle strength and flexing the joints. The legs, arms and shoulders also get strengthened greatly. The shoulders and pelvis also open up greatly creating more space in the body.
Position type: Standing/ abduction of legs
Posture type: Stretch
Ideal for: Strength
Targets: Arms and legs
Pose level: Beginner
How can you prepare for Parsvakonasana
Legs and Core strength
This is the most important aspect for Parsvakonasana. The better the strength, the longer you can hold the asana comfortably. Regular practice of a few postures like the triangle pose, the warrior series, boat pose and plank are good for this. Even sun salutations or Surya Namaskars are useful for this.
Balance and flexibility
Along with strength, better balance and flexibility is very important to get the right alignment. For hip flexibility asanas like standing forward fold (Uttanasana), downward facing dog (Adho mukha savasana) and runner stretch are a few helpful asanas. Practice balancing poses like the tree pose (Vrikshasana) and eagle pose (Garudasana) regularly.

How to practice Parsvakonasana
Here's a breakdown of parsvakonasana steps to get into and out of the posture.
Getting into the posture
- From the low lunge, Ashvasanchalasana, place the right palm on the outside of the right foot.
- Inhale and lift the left arm up, opening up the chest and abdomen to the side. Turn the left toes towards the side, placing the heels down.
- Exhale, bend the right knee such that the thigh is parallel to the floor and the right knee is aligned over the heel.
- Inhale and as you exhale, stretch the left arm over the left ear with the palm facing down.
- Turn the head in the upward direction and look towards the left fingertips.
Getting out of the posture
- Bring the left arm down. Turning the body in, come back into Ashvasanchalasana.
- You can also lift the right palm off the ground, straighten the right leg, turn the toes in and come into a wide legged stance.
Key alignments in Parsvakonasana
- The knee and ankle of the front leg should be in one line. Don’t let the knee fall ahead or inwards.
- The right hand and right leg are placed next to each other. This way, it will make one straight line from the heel of the back toe to the left fingertips.
- Entire hips needs to be drawn out to the front, opening the chest and in line with the feet.
- Feet are in-line and in a wide-stance
What are the Contraindications of Parsvakonasana?
Those with high BP should not hold the position for long. Do not extend the hand out too much, and keep the neck and shoulders soft. If you are suffering from neck issues or spondylitis, look towards the side instead of upwards. Avoid this if you are suffering with neck pain or migraine at the time of practice. Keep the stance medium if there is strain on the front knee. These are the few parsvakonasana contraindications that one needs to keep in mind while practicing.
What are the counter poses of Parsvakonasana?
Practice downward facing dog (Adho mukha svanasana) for a few breaths. This will bring the balance back in the body. You can stand still in Tadasana for a few minutes.

Parsvakonasana variations
The parsvakonasana variations include the easy and advanced variation.
Easy variation
- As a beginner, you can place the palm on the inside of the leg
- You can also place the right elbow on the right thigh to reduce the effort
- You can look down instead of looking at the upper arm
Advanced variation
- Take the left arm behind the back and try to catch hold of the front thigh. This will open up the shoulder and chest some more.
- If you are more flexible, you can try the Baddha Parsvakonasana, the bound side angle pose with arms rapped around the front thigh.
Advice for beginners
Start with the easier variation where the elbow is placed on the knee. This will require less effort and will be easier to hold the asana. Slowly, with practice your strength and endurance will increase so you can hold it for longer.
Practice tips
Look up towards the fingertips - either up or down. This will help you keep your balance and hold the posture for longer. Alignment is important in the asana so don’t be in a hurry. Practice slowly and get into the right posture, then try to hold as long as possible.
Shvasa Tip
Initially you might find this very challenging. Start slowly and progress over time. Practice trikonasana for long enough before you start with Parsvakonasana. A teacher will be able to guide you based on your level of strength and flexibility in an online live yoga class.


.jpg)


%201.png)

%201.svg)


%201.svg)