What is Halasana?
The name ‘Halasana’ comes from the Sanskrit word “hala” and meaning a ‘Plow’. The asana represents a plow, and it is one of the classical asanas described and illustrated in the 19th century texts as Lāṇgalāsana. A plow is a popular farming tool commonly used in agriculture to prepare the soil for sowing crops. Like all asana names, the posture resembles the qualities of what it represents. Halasana prepares the body and mind for deeper practices by providing rejuvenation and relaxation.
The asana is an inverted forward fold and a full back stretch. It stretches the entire spine, relieves and strengthens the back and tones the muscles. It is good for the abdominal organs as well as the respiratory system. It boosts circulation, improves blood pressure and lowers blood sugar levels. This is a great posture to improve flexibility, and muscle and joint movement, improving stability and balance in everyday life. The relaxing effect it has on the mind and body releases stress and tension, improving sleep, mood and energy.
Spinal bend type: forward bend
Posture type: Inversion
Ideal for: Flexibility
Targets: Neck and upper back
Pose level: Intermediate

How can you prepare for the asana
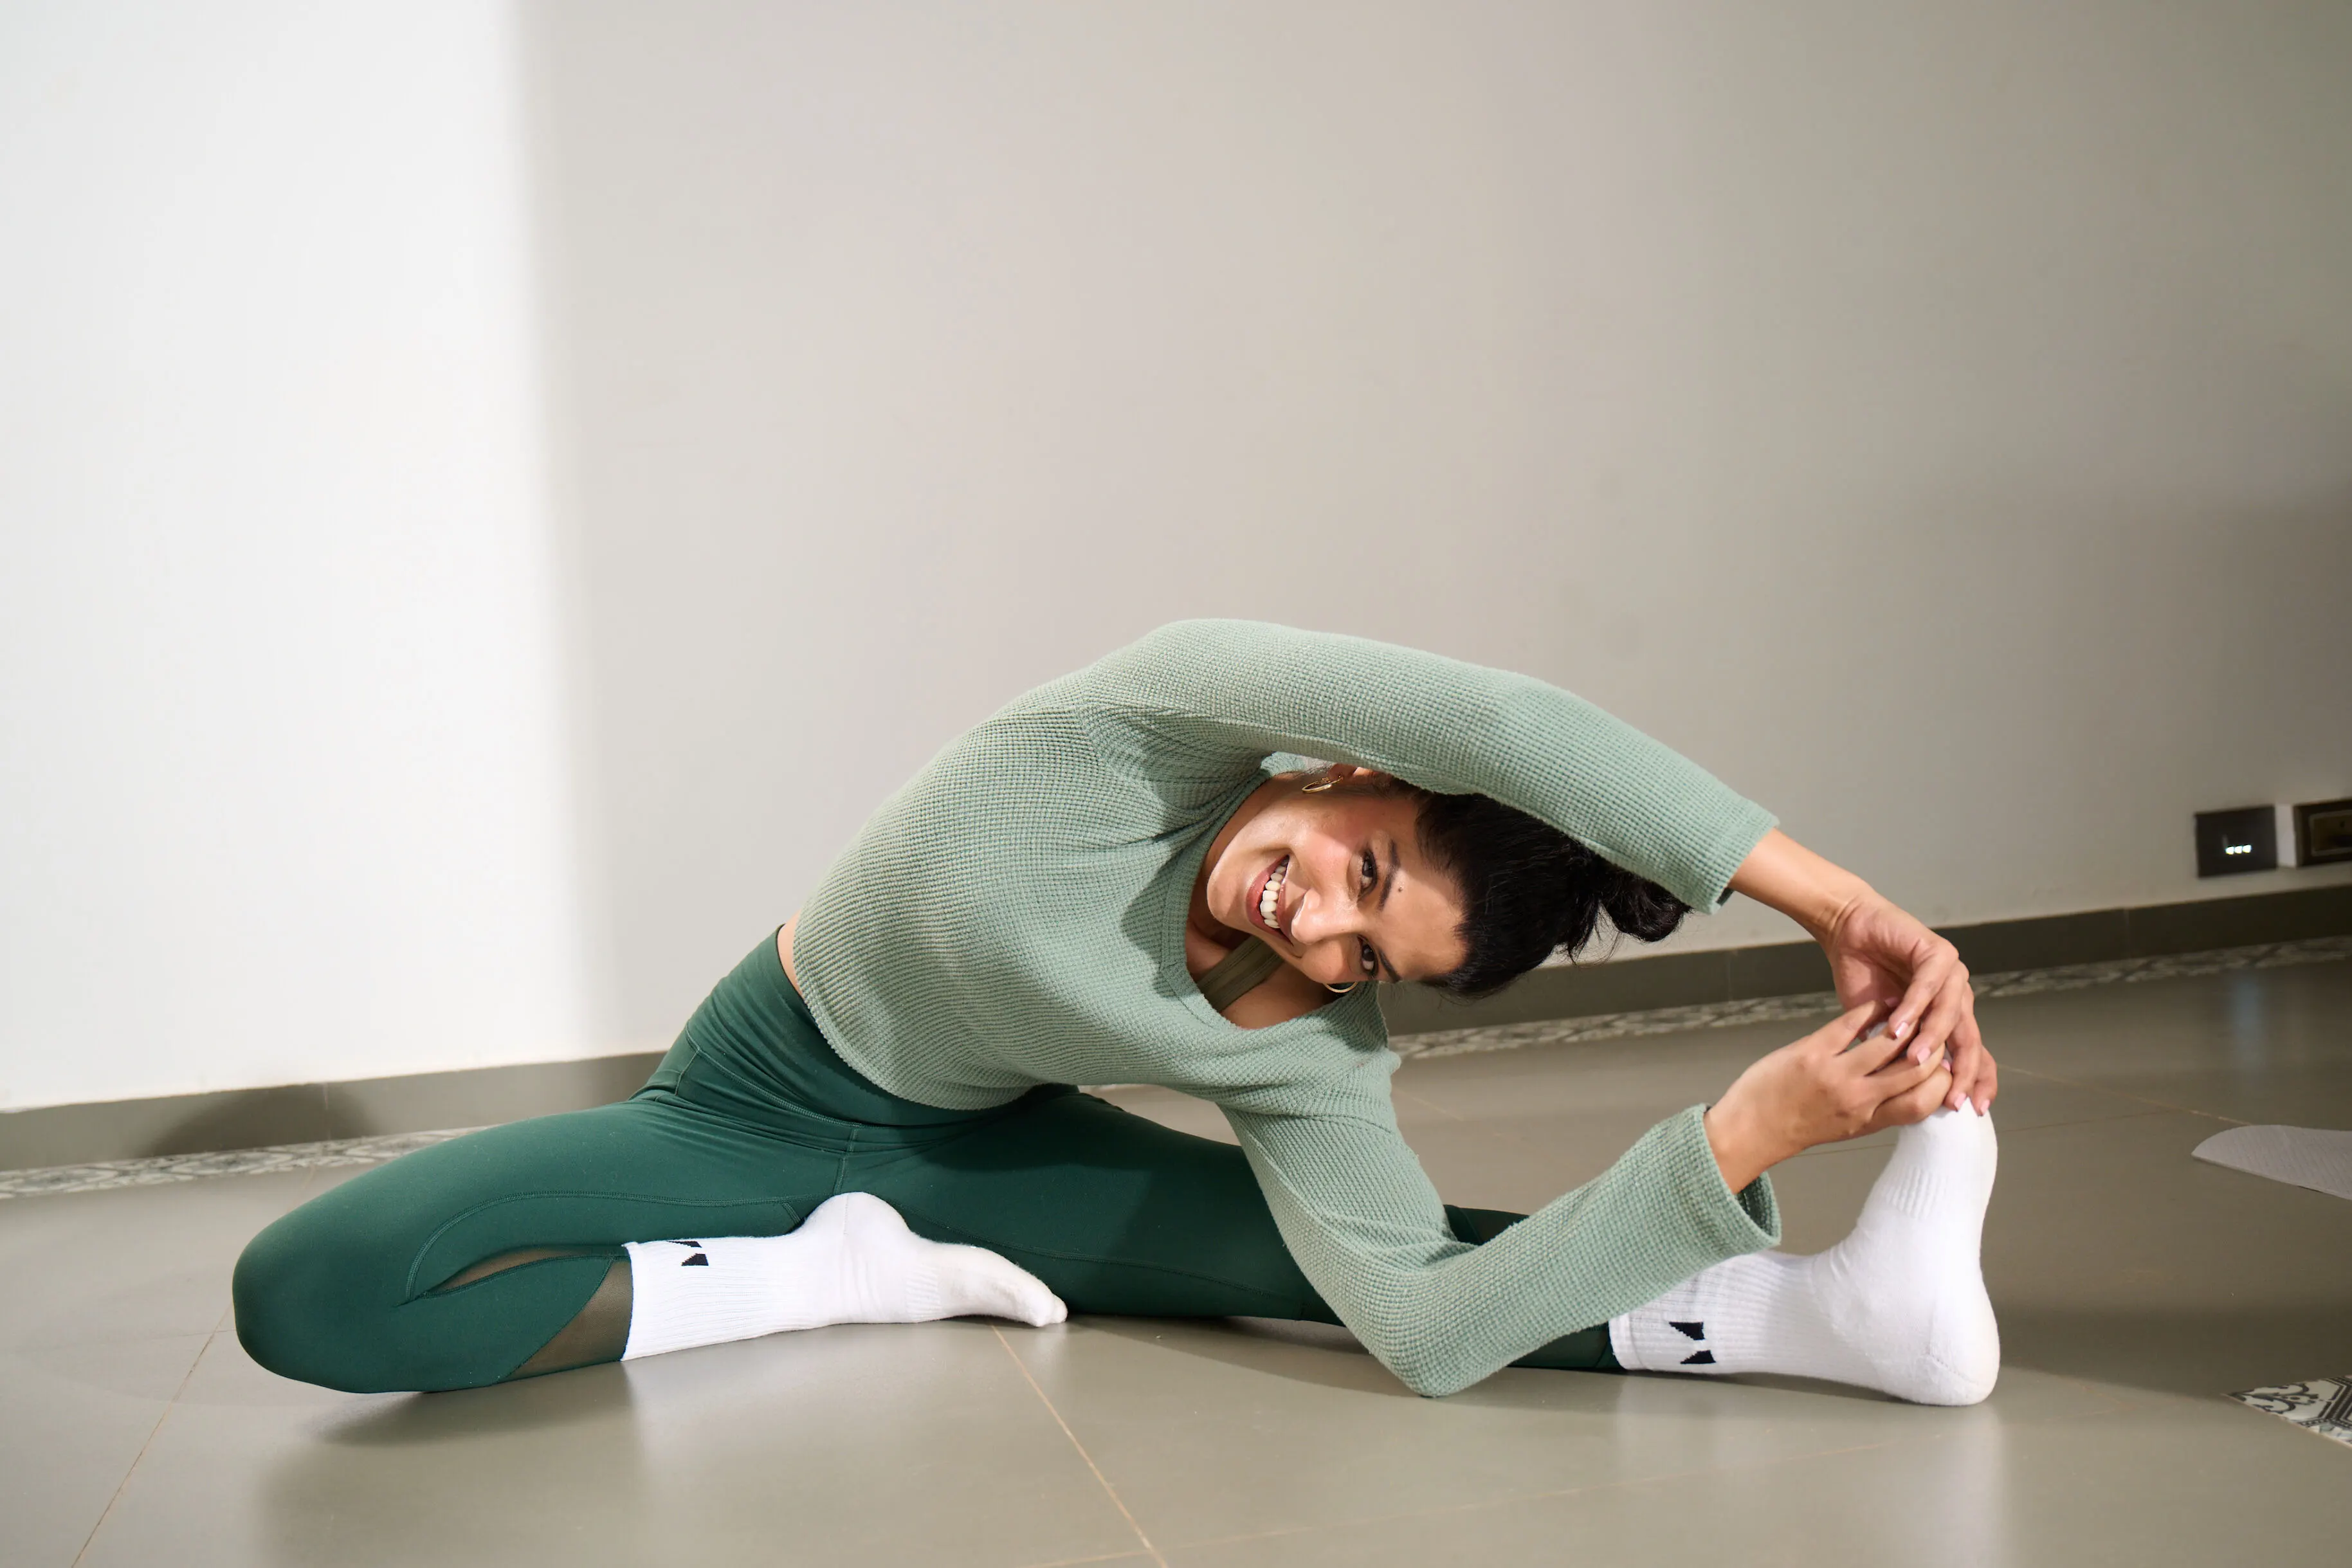
Hip flexibility
For Halasana, hip flexibility is important. Practicing standing triangle pose, lunges and simple hip openers like bound angle pose, garland pose and pigeon pose regularly can help develop hip flexibility.
%20-min%20(1).JPG)
Lower back flexibility
With hip flexibility, back flexibility is also important for the asana. Practicing backbends like camel pose, cobra pose, locust pose and forward bends like seated forward fold and standing forward fold will improve back flexibility. You can also practice forward folds like Paschimottanasana.

Core and leg strength
Developing strength is always helpful. It helps you hold the posture for longer with ease and comfort. For this, regular practice of triangle pose, warrior series, boat pose and plank are important.
%20-min.jpg)
How to practice Halasana
Now that we have learned how to prepare for halasana, lets learn more about the halasana procedure, benefits and contraindications.
Getting into the posture
We have broken down the steps of halasana in such a way that its easier for you to complete the posture safely.
- Lie on the back with your arms by the side of the body.
- Inhale and gently raise both the legs with the help of your core muscles. Slowly lift the buttocks away from the floor and bring the legs vertically to a 90-degree angle.
- As you continue breathing normally, gently lower the legs over the head and let the toes touch the ground. When you do this, support your hips and back with your hands.
- Your back should be perpendicular to the floor. It might take a few seconds to adjust and get this right. Now place the palms on the mat with your palms facing down or keep them interlocked.
- Hold the posture for as long as comfortable keeping your breath steady and relaxed.
Getting out of the posture
After staying in the posture for a few breaths (or as long as comfortable for you), roll the spine and and gently lower legs to floor.
What are the benefits of Halasana?
The asana strengthens the abdominal muscles and tones the spinal nerves. It also increases blood circulation, calming the nervous system and reducing stress and fatigue. It strengthens and opens up the neck, shoulders, abs and back muscles. It’s good for flexibility, especially in the legs and hips. It also regulates the thyroid gland and strengthens the immune system.
What are the contraindications of Halasana?
Anyone with high blood pressure, slipped disc, sciatica, back pain, shoulder or any neck issues should avoid the asana. Women who are menstruating should also avoid practicing.
Counter poses of Halasana
Since the neck gets contracted in this posture, it is good to practice Matsyasana, the fish pose for a minute or two. Practicing this will extend the neck region bringing it back to a normal and balanced state.
Halasana variations
Here are 2 halasana variations that you can practice, the first variation is beginner friendly and the second is for advanced practitioners.
Easy variation
As a beginner, keep the knees bent and try to reach the toes towards the floor. If that is not possible, you can reach as far over the head as possible. You can also support the lower back with the hands.
Advance variation
In the advanced version, you can also attempt to hold the toes instead of keeping the hands down.
Advice for beginners
Keep the knees away from the head. If it is difficult, try starting by bending the knees. Gradually, as your muscles loosen up and flexibility improves, you will be able to hold the position. Keep the legs together, using the abdominal muscles. If it is difficult to place the legs on the ground above the head, bring them as close as you can to the ground. With practice, once flexibility improves, you’ll be able to touch the ground.
Practice tips for Halasana
- Avoid curving of the spine
- If it is possible to keep the knees straight, then care should be taken to straighten the knees
- Always keep space between the back of the neck and the floor to avoid any pressure on the cervical region
- Be gentle and avoid rolling the spine too hard or with any jerks
Shvasa Tip
- Always learn and practice the asana live with a teacher to know the right variations and progress in an injury-free manner.
- Be gentle. The bend can be intense on the spine and hips so avoid any jerks or sudden movements.
- If it’s taking time don’t get demotivated. Work on hip flexibility and slowly you’ll begin to notice your progression.


.jpg)


%201.png)

%201.svg)


%201.svg)